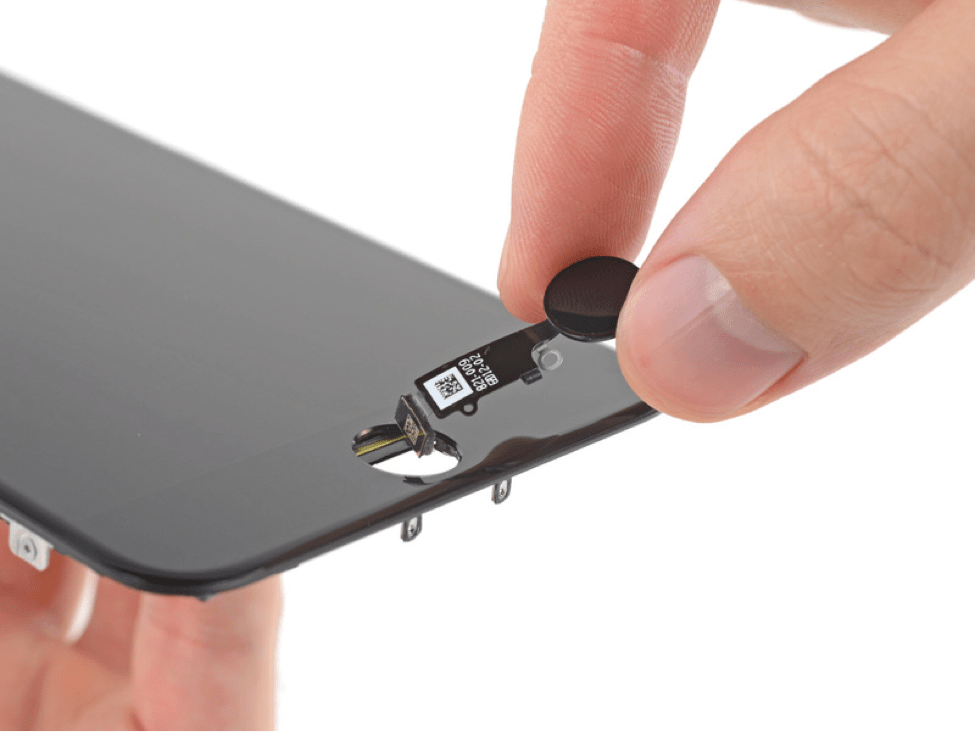
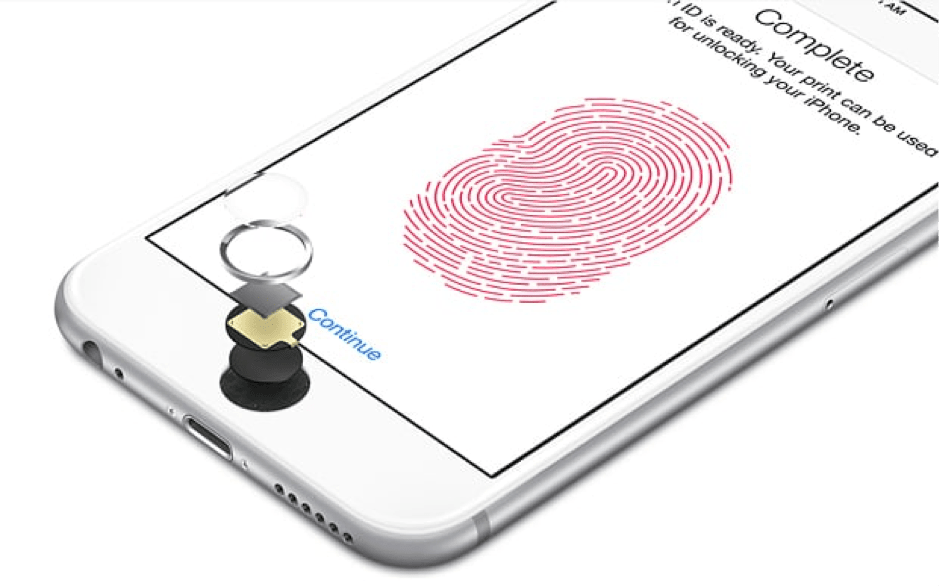
The latest iPhone X ( read as iPhone 10) comes with a face unlocking feature called Face ID. The technology enables the iPhone X users to unlock the device using their face. But, the previous generation of iPhones had a touch ID. From the iPhone 5s to the iPhone 8 Plus, the touch ID worked great. Well, almost great except for some touch ID issues that many users had to face. Here in this post, we have researched through all the touch ID issues and create a detailed post explaining how to fix touch ID not working issue.

Common Mistakes to Avoid Touch ID not Working Issue
Restart your iPhone to see if it is a temporary issue. At times, a simple restart can fix the touch ID issue.
Make sure that you are not putting unnecessary pressure on the touch ID. A gentle placement of your registered finger is enough to scan and unlock the iPhone.
Make sure your registered finger and the sensor is clean of moisture. If you have sweaty hands, make sure you wipe clean your fingers to remove any moisture in it.
Related Articles:
Make sure your placement of finger is right with proper contact with the metal ring as well as the home button.
Don’t remove the finger from the touch ID in a rush. Keep it pressed until the phone unlocks.
Scan multiple fingers while setting up your touch ID for backup.
Make sure the screen-guard on the display is stuck correctly and is not blocking the touch ID sensor. This problem occurs if you use low-quality screen-guards.
Turn off the Touch ID service temporarily and then turn it on again after some time.
Remove and Re-Train Touch ID
You can try to fix the touch ID issue by removing the old registered fingerprint ID and re-registering the fingerprint
again.
Go to Settings > Touch ID and Passcode.
Enter your passcode when asked.
Now remove the previously registered fingerprint by swiping them from right to left. Do this to all the fingerprints.
Next, tap on Add a Fingerprint option to re-register your Fingerprint. Make sure you add more than one fingerprint at this stage. Adding more than one fingerprint is a useful backup option.
Fix Touch ID Issue with iMyFone D-Back
If your iPhone has a software-related issue then the tools like iMyFone D-Back may help you fix the touch ID issue. It is essentially a data recovery tool for iPhone but can also fix issues like stuck in white/black screen, reboot loops, Apple Logo stuck in recovery mode and more.

To fix the touch ID issue, do the following:
Download and run the tool.
Select “Fix iOS System” option.
Select “Standard Mode” and download the applicable firmware.
Click on “Start to Fix” to begin the process.
Factory Reset iPhone to fix touch ID Issue
A factory reset is the last step you may want to take to fix touch ID issues, but in case nothing seems working, try resetting the iPhone by completely erasing all the data. Here is how to do it.
Take a Backup
Before you begin the factory reset process, make sure you take a complete backup of the iPhone’s data using iCloud or iTunes.
For iCloud – Go to Settings > iCloud > Backup and enable the iCloud backup option.
Related Articles:
For iTunes – Open iTunes and connect the iPhone to PC or Mac. Click on the iPhone icon under the Play button and take a full backup.
Factory Reset iPhone
Now to factory reset your iPhone, do the following:
Go to Settings > General > Reset and select Erase All Content and
Settings.
Type the passcode if you have set any. Read the warning and tap on the Erase iPhone button shown in Red.
Enter the passcode again if asked and wait for the iPhone to be reset to its factory default setting.
You can also reset the iPhone to factory settings using iTunes. Do read our beginner’s guide to iCloud for complete information about iCloud and how to use it.


